


INSTALL PEGBOARD THE EASY WAY
My pegboard adventure began when I felt the need to store my many cones of knitting yarn in a tiny crafting space. Out of pure necessity, I came up with the idea of using my wall space for this task. LIGHT-BULB moment > Pegboard... pegboard would be the perfect answer.
But, I had no idea of how I was going to be able to install it without a helper. I watched several videos and learned all about the hardware I was going to need and then headed off to the local lumber yard. Well, it didn't take too long to realize that I, first of all, was not going to be able to handle the large sheets of pegboard found there and second of all, I didn't have the skill nor the tools to cut them down to size.
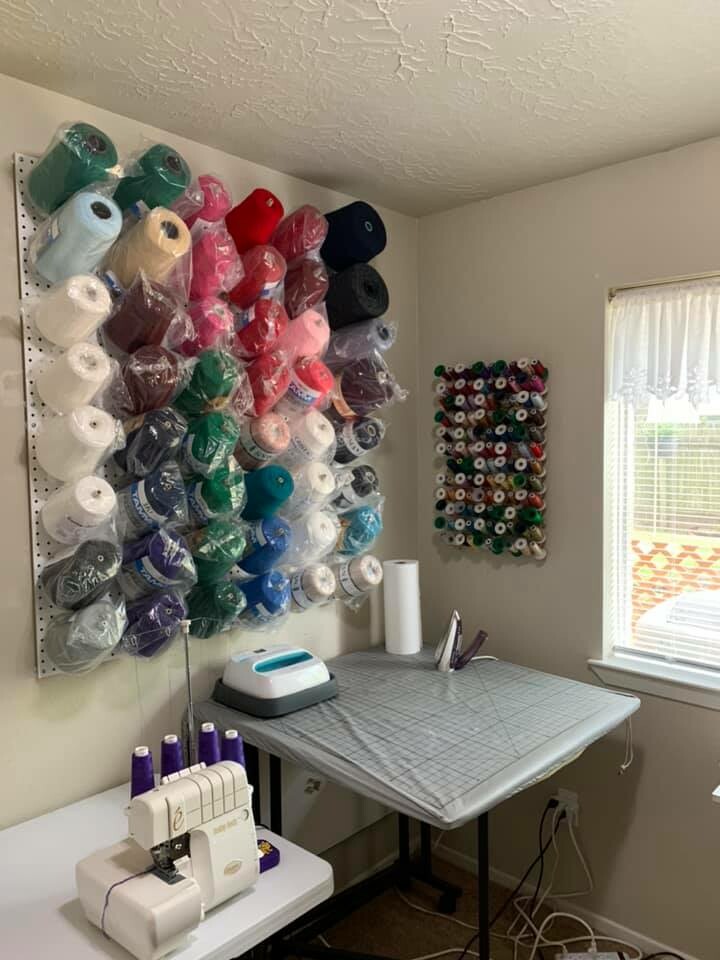
Plan two... search the internet for pre-cut materials. I was pleasantly surprised to find the pegboard in the perfect size, a size that I could manage on my own (two boards, each 24" high X 42" wide). They even came with the necessary hardware! Imagine that. So I ordered enough for the two walls in my tiny crafting room. I figured that each wall would accommodate approximately 50 cones of yarn. Perfect! because I had 103 cones in boxes, ready to pop up onto the walls. Hurdle #1 tackled...
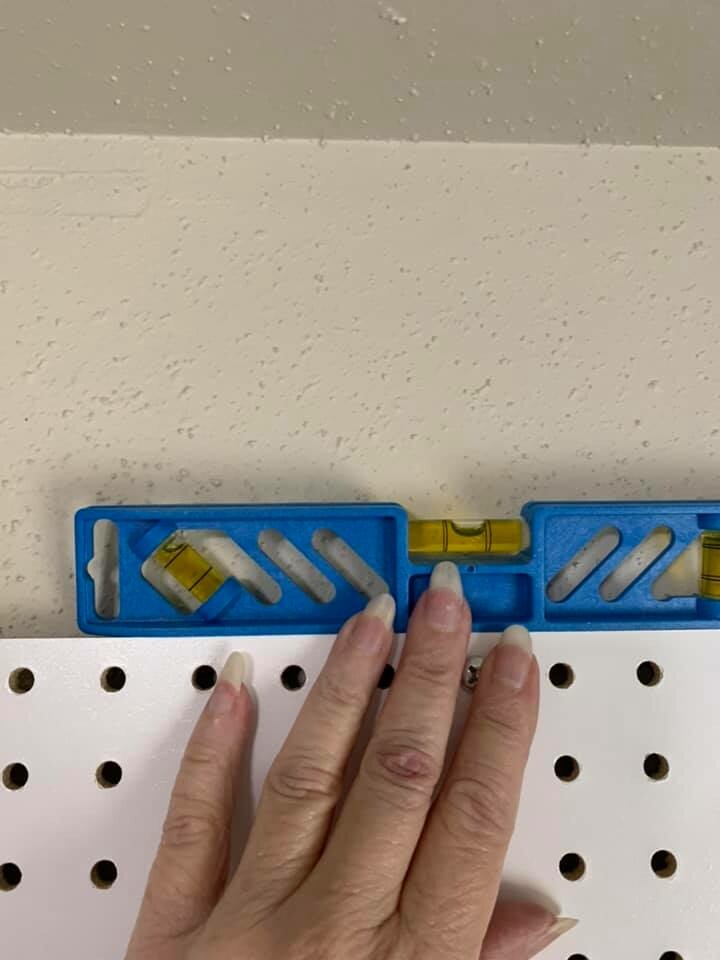
Next up... how to hold the pegboard against the wall and add the level above it so I could mark the spot for the screws that would hold the pegboard onto the wall. This was a little tricky until I came up with the bright idea of holding the pegboard up (approximately level) and marking one peg-hole corner with a pen. Then I hammered in a little white nail (with a small head) through the sheet-rock, positioned the nail through the corner hole of the board and straightened it enough to get the small level on top. Then, while holding the board level, I marked the hole of the opposite corner, removed the pegboard, positioned another nail and hung the peg-board on the wall and checked to see that is was, indeed, level.
Finally, I evenly placed enough nails to accommodate the weight of the peg-board and the cones of yarn (which would be a total of 6 nails for one board - 3 on the top and 3 on the bottom). Remember, that this is just one of the two boards that will make-up my little yarn storage area.
The second pegboard was much easier. I held the top edge of board #2 against the bottom edge of board #1 (which was still on the wall) and marked the top 3 holes and repeated the process. One IMPORTANT lesson I learned - was that It is best to stagger the placement of the top 3 screws (of the bottom board) so that they are not perfectly lined up with the bottom 3 screws (of the top board). Now, for a perfectionist like me, this was a difficult decision. But when you place the spacers between the pegboard and the wall, you will discover that they will extend a little past the edge of the board, thus making it impossible to keep your boards flush unless you stagger the spacers.
So, if you don't want extra nail holes in your wall, take this into consideration when you decide where to position the nails in the first place. Hurtle #2 tackled.
 Now you might think that that looks pretty good, but wait, the boards need to be about a 1/4" away from the sheet-rock so that the 6" straight hooks (that hold the yarn) can be inserted.
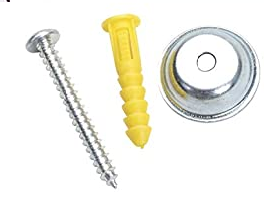
 Okay so, the boards will next need to be adequately secured with the 1" screws which will be inserted: through the pegboard, through the 1/4" spacer, and into the plastic sheet-rock anchor in the wall.
To achieve this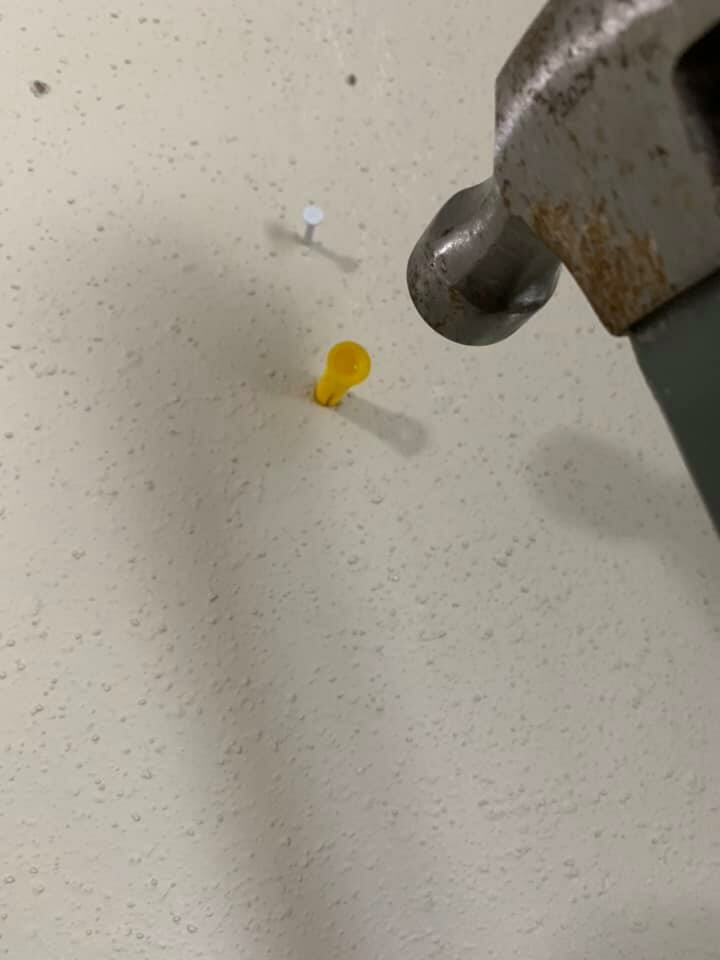 , I removed the pegboard from the wall, leaving the 12 nails in the sheet-rock. Then one-by-one I removed each of the 12 nails and tapped one of the screws with a hammer through the sheet-rock, making the perfect size hole for
 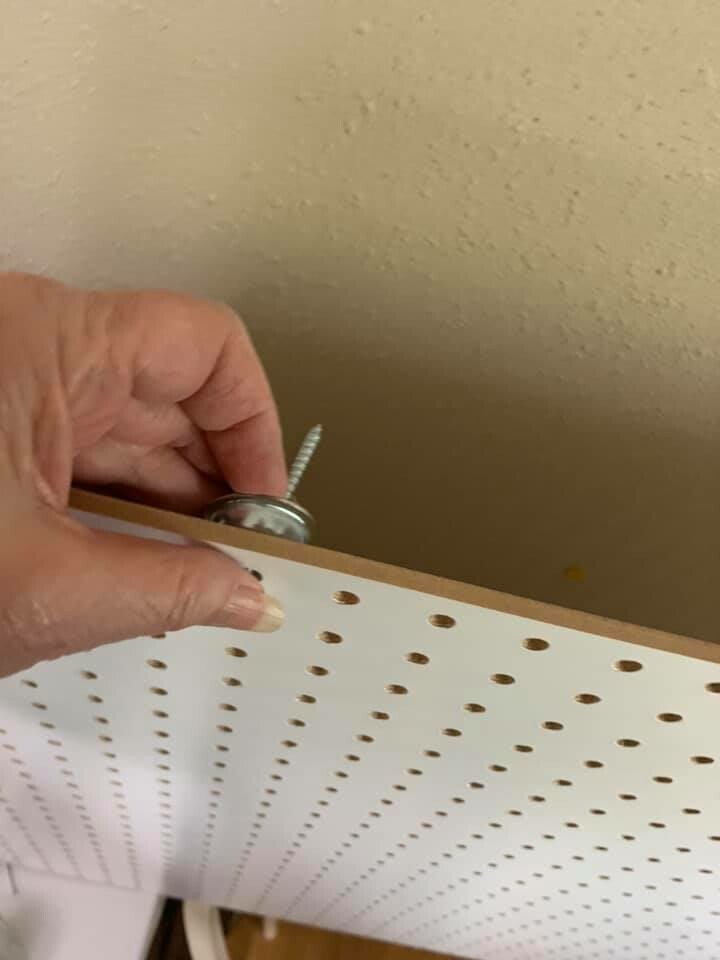 the plastic anchors. Next I tapped each of the plastic anchors in place. Then starting with the bottom pegboard panel, I lined up the center
 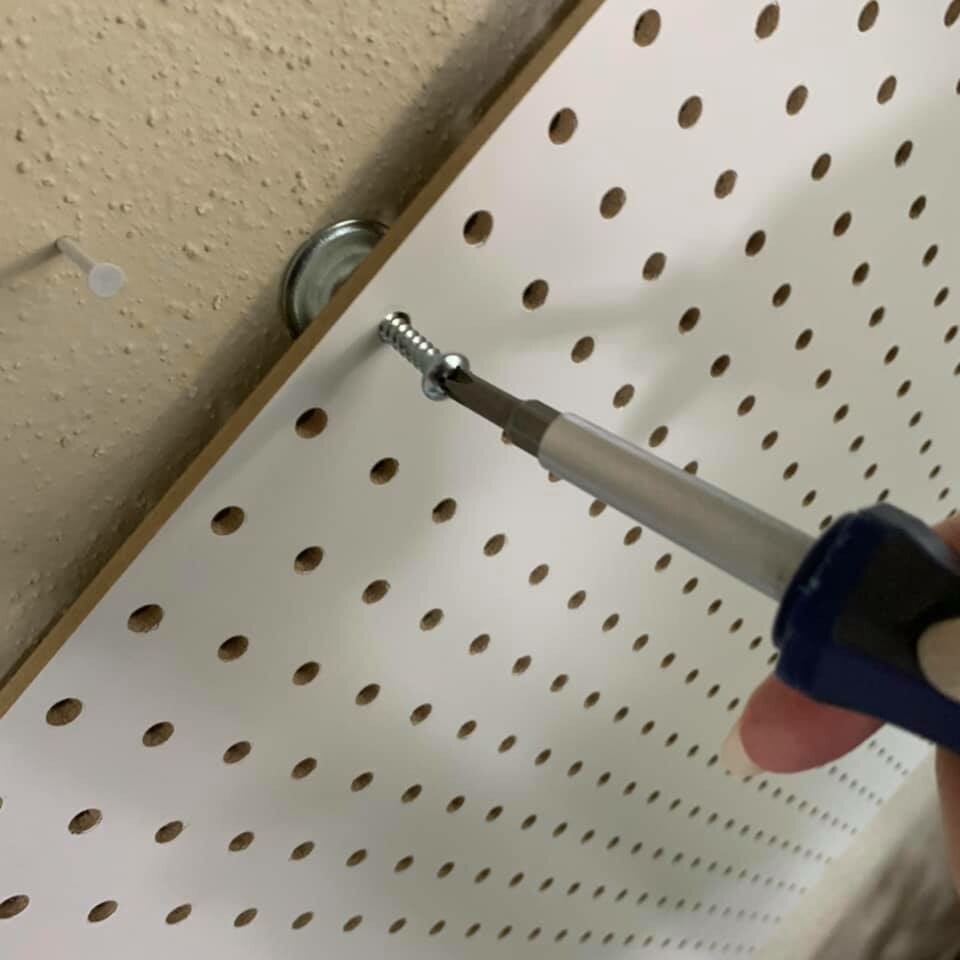 hole, with the 1/4" spacer between the board and the wall and screwed the screw in loosely (so I had the wiggle room to easily insert the remaining spacers). I then repeated the process for the other 5 screws, tightening them down once they were all in place. And, as you can imagine the top pegboard was much easier to install because it could rest on the bottom panel as I lined up the top center screw and completed the process. Hurtle #3 tackled.
, I removed the pegboard from the wall, leaving the 12 nails in the sheet-rock. Then one-by-one I removed each of the 12 nails and tapped one of the screws with a hammer through the sheet-rock, making the perfect size hole for the plastic anchors. Next I tapped each of the plastic anchors in place. Then starting with the bottom pegboard panel, I lined up the center hole, with the 1/4" spacer between the board and the wall and screwed the screw in loosely (so I had the wiggle room to easily insert the remaining spacers). I then repeated the process for the other 5 screws, tightening them down once they were all in place. And, as you can imagine the top pegboard was much easier to install because it could rest on the bottom panel as I lined up the top center screw and completed the process. Hurtle #3 tackled.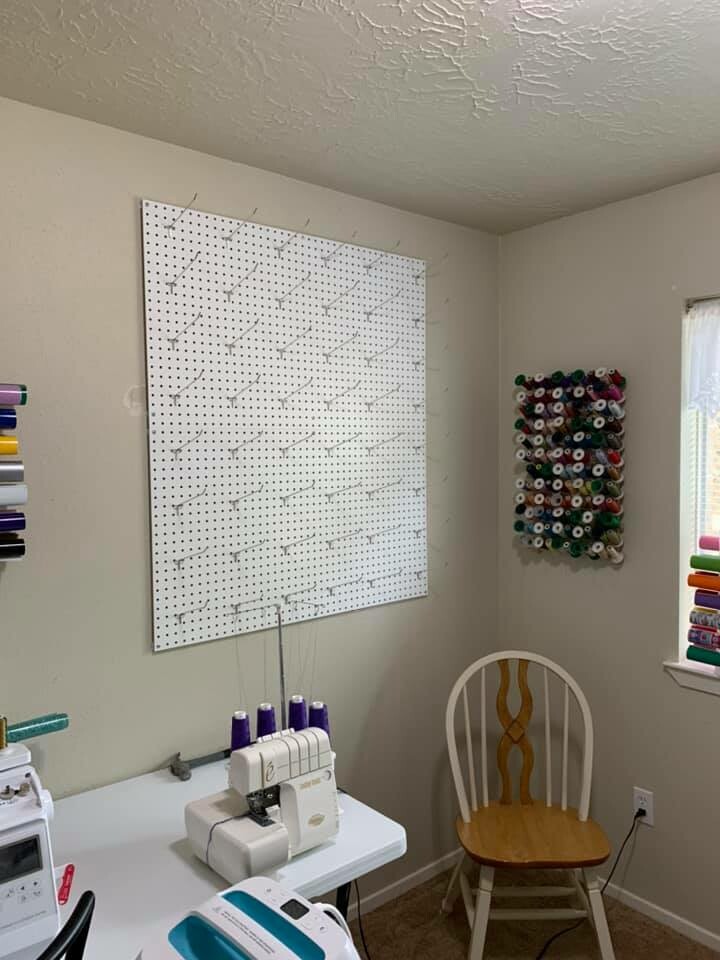
We are in the homestretch now!
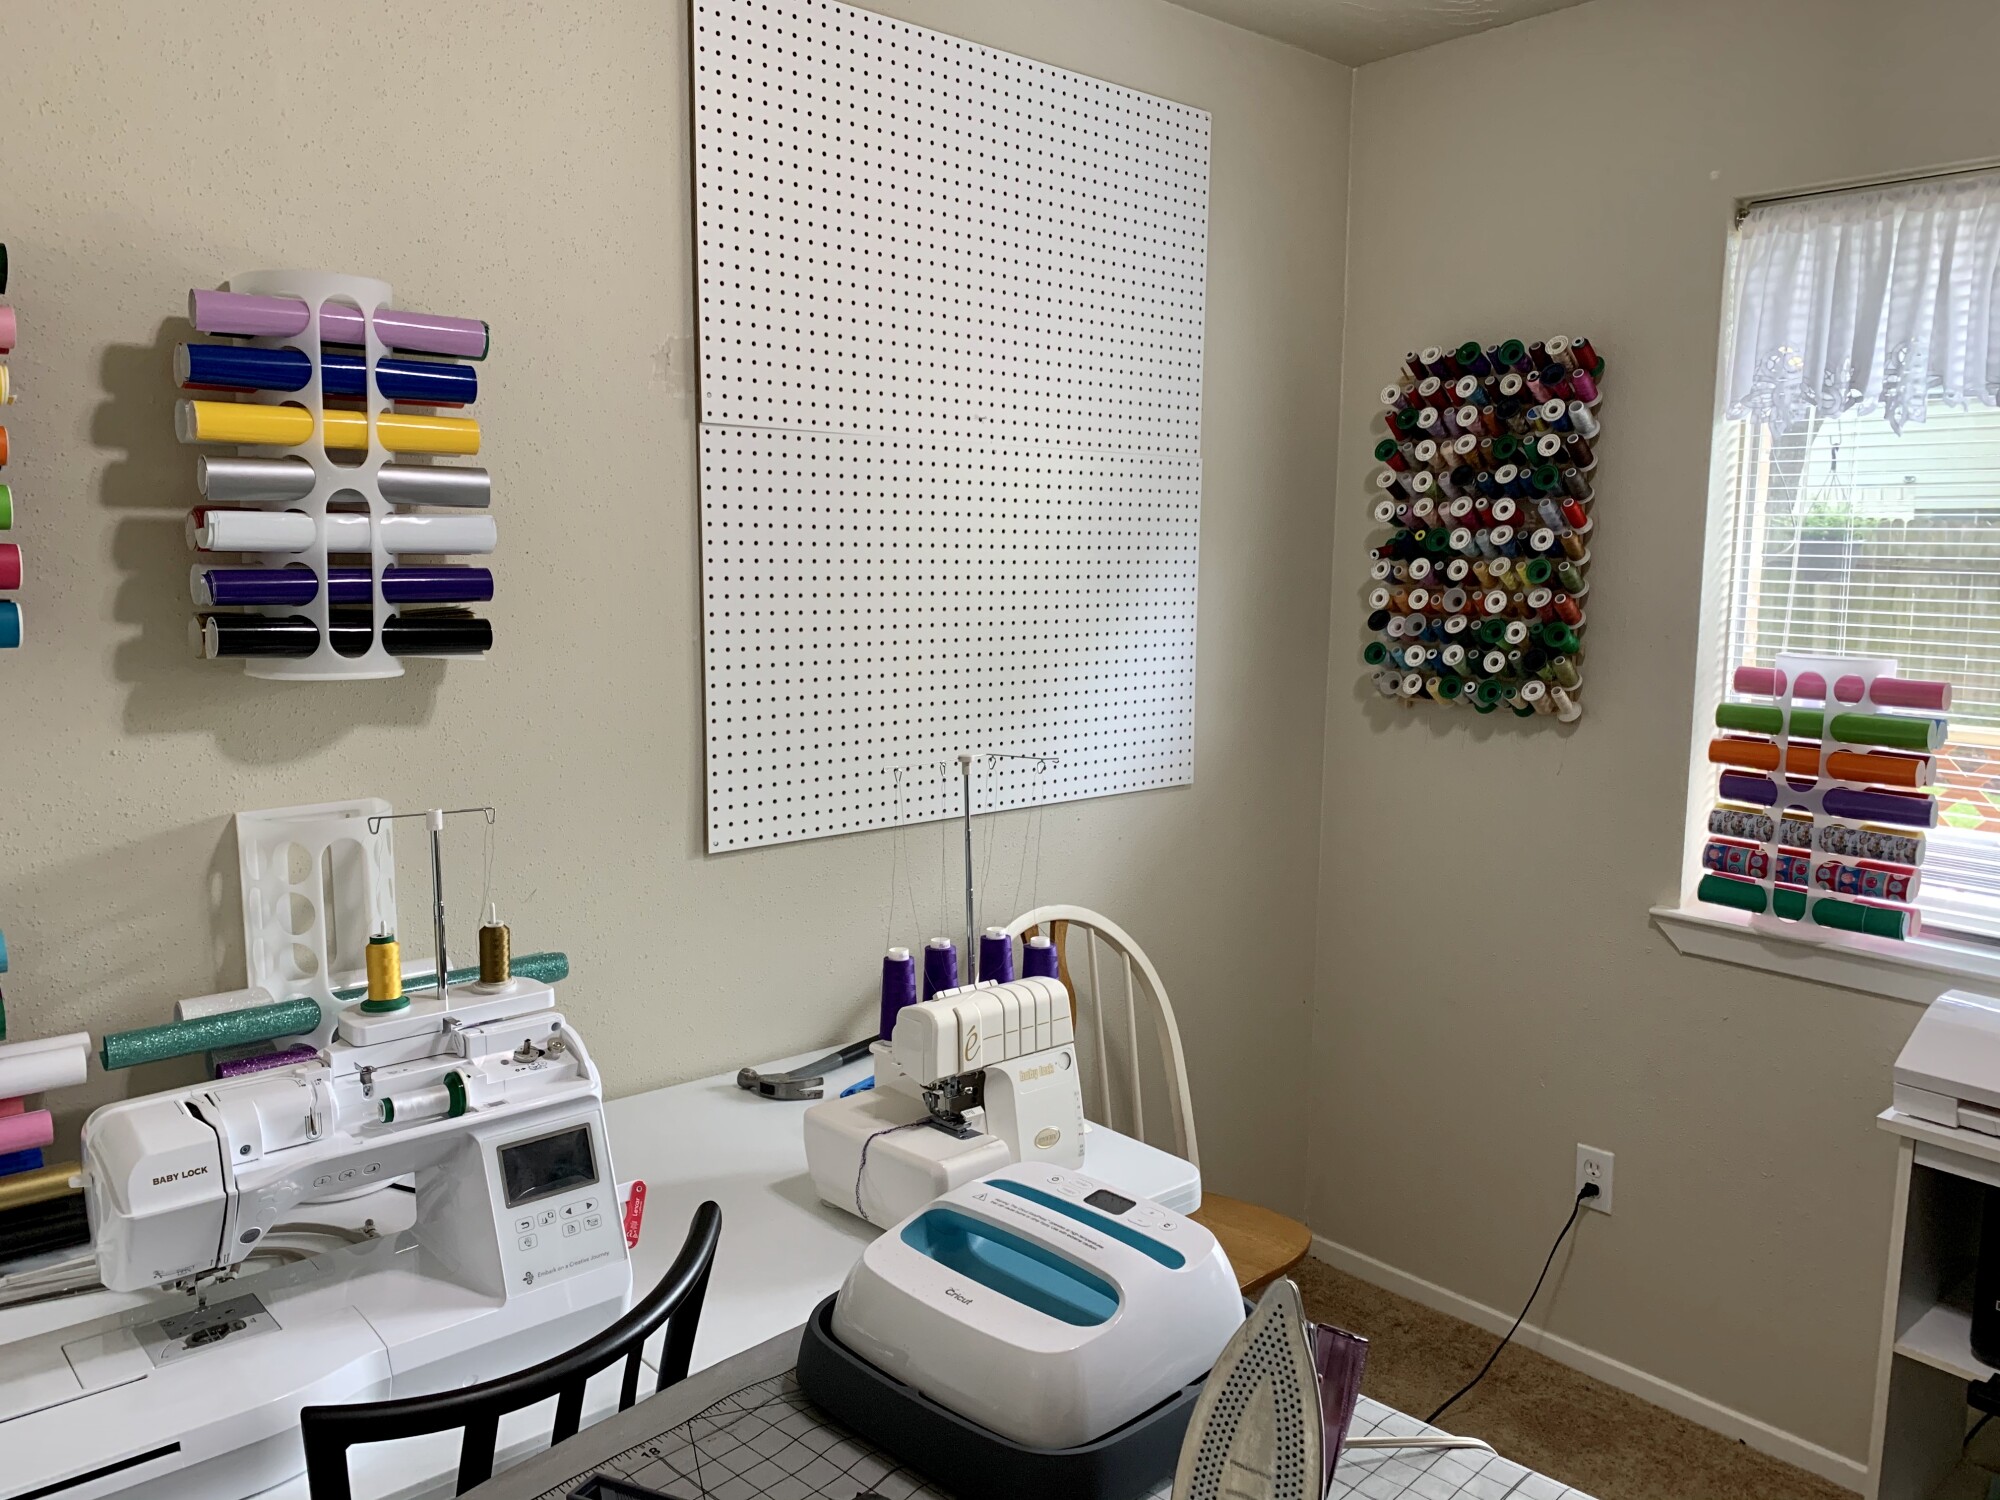
All that is left to do is position the 50 - 6" straight hooks to hold the cones of yarn. Pegboard is absolutely amazing for this because not all cones of yarn are the same size, but... with pegboard you can arrange the hooks accordingly. For example, I left more room on the right side of my boards for the larger cones and can re-space them as I use up my current supply of yarn and purchase more in the future.
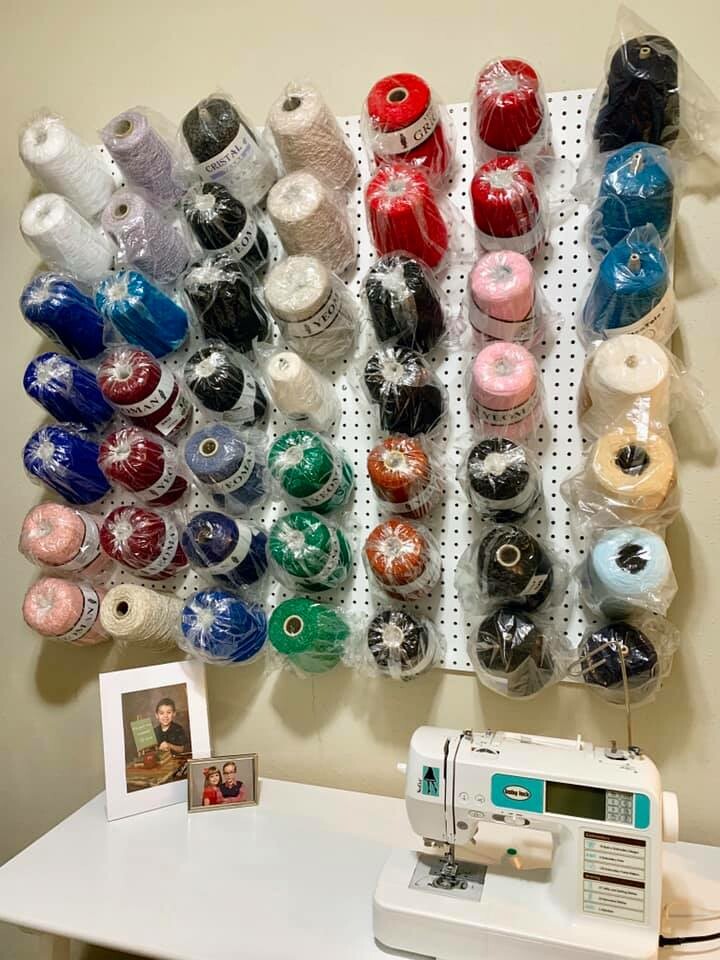
Now is the time to sit back and admire the completed project and wonder what the next adventure will be. Okay, I attribute the energy & stamina to do projects like these (at the age of 67) to my favorite antioxidant drink & of course, a can do spirit.
If you found this article helpful, please
leave a comment below!